Last post, we began working through the exterior part of the preflight, and we had checked the glareshield, static port, and left wing including the leading edge, trailing edge, aileron, and flap, and the left main gear and brake. This left us under the wing, ready to move on to the tail.
NOTE: the specifics in this series apply to Cessna 172 aircraft, as that is what I instruct in most – in any case, always use the Pilot Operating Handbook (POH) for your aircraft to confirm that you have not missed anything on your preflight!
From under the wing, after checking the left main gear, lightly knock on the fuselage as you make your way to the tail. When you get to the cargo door, check to make sure it is closed, latched, and locked. Keep knocking the rest of the way back. You are listening for a rattling noise that would indicate a loose screw or rivet. If a rivet starts coming loose it might start vibrating and creating aluminum dust, which trails back as the plane moves through the air, making it look like smoke is coming from the rivet; this is known as a “smoking rivet” and is a good reason NOT to fly a plane. Also watch for missing access panels.
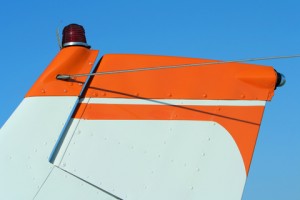
Once you have reached the tail, look for dents and issues on its leading edge and on top, as well as missing or smoking rivets or lost access panels, and move around to the back where you can lift the elevator. Lift the elevator up on the left side, and check the elevator on the right side – it should also go up. Check the yokes (if possible) – they should move toward the back of the plane (aft) when the elevator is up, and toward the front of the plane (forward) when the elevator moves down. With the elevator down, check the hinge bolts to make sure they are secure and have safety wire.
To check the rudder, lift the elevator, and push the rudder away from you and pull it toward you, and take a look at the cables that pull the rudder for secure bolts and safety wire. You can also see the cables and bolts that move the elevator from this vantage point, so check them here as well. Also check any of the rudder hinge bolts you can reach (bottom and middle, most likely).
The right side of the tail has all the same checks as the left side with one major difference – the elevator trim tab is on this side of the elevator. Lift the elevator, and check the trim tab does not move very much. Check the bolt and safety wire on the trim tab pushrod. Then check the rudder from the right side and all the other elevator checks on the right elevator.
Once done with the tail itself, it is a good time to take a look at the antennae on the plane. You will probably see two antennae on the top of the vertical stabilizer, sticking out of each side of the tail at an angle, looking like the letter “V” laying on its back. These are the VOR antennae.
You will probably also see one or two antennae on the top of the wings, at an angle leaning toward the rear of the plane. These are communication antennae. You might see a “hockey puck” like antenna above the cockpit, near the comm antennae – this is a GPS antenna.
On the top of the fuselage is a thin, wiry antenna, just behind the rear window of the cabin – this is the antenna for the Emergency Locator Transmitter (ELT). You might see a “clothesline” wire from the top of the tail to above the cockpit. This is a Non-Directional Beacon (NDB) antenna (also called “Automatic Direction Finder” or ADF).
Under the fuselage are “fin” type antennae – these are antennae that belong to the transponder.
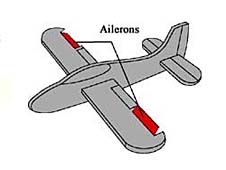
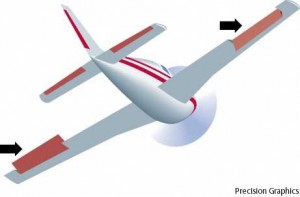
Move forward on the right side, knocking lightly on the fuselage, toward the wing, pretty much in reverse from what you did on the left side of the plane (see Preflight: Exterior – Part 2 (Wing) for a reminder!). Check the right wing just like you did the left wing, starting with the flap, then the aileron, wingtip, and leading edge. Once done, check the right main gear, just as you did the left main gear.
Once you’ve completed the right wing, it’s time to check out the engine area and propeller – which we’ll do in the next post!
Do you have anything to add to this part of the preflight? Add your tips to the comments!
Andrew Hartley is a Certificated Flight Instructor in Columbus, Ohio.
Preflight Series:
Preflight Step 1: The Cockpit Check
Preflight Step 2: Exterior (Wing)
Preflight Step 2: Exterior (Tail)
Preflight Step 2: Exterior (Engine)
Preflight Step 3: Fuel


